Saturday, November 19, 2011

Fat Butt Cheeks/Potatoes and Leeks

Who sucks at updating? oh, me! me! me! It seems like I've been starting most of my posts with some crappy apology for my lack of consistent blogging, so this time I'll just settle on an admission of guilt and get on with the damn thing.

I haven't been super motivated to cook the last few days as winter's chill sets in and all I want to do is watch reruns while huddling under a mass of blankets. However, I recently found myself in a very odd kind of convenience involving my "naked fat guy" halloween costume and my winter garden.
Let me explain. The production of my fat man "giblets" required two small potatoes for realistic heft-and-swing, leaving me with a bag of leftover spuds. Also, my garden is still going with a few winter crops, including leeks. It was clear...there was soup to be made. I don't care how goddamn pedestrian some critics may think potato and leek soup is, it's easy and delicious, which is why everyone should know how to make it.

Potato and Leek Soup

-3 fat leeks
-4 cloves of garlic
-5 sprigs of thyme
-1 lb potatoes
-3 celery stalks
-2 tbsp rendered bacon fat (or butter, whatever)
-5 cups of chicken stock
-1/4 cup heavy cream
-s&p to taste

Roughly chop your leeks, celery, and potatoes. You don't really need to chop the garlic, just smash and peel the cloves with your knife. I say "roughly chop" everything else because you're eventually going to take a blender to the lot. You can also make your life a little easier by tying the thyme together in a bundle with some kitchen twine.

Place the bacon fat (or whatever you're using) in a pot over medium-high heat, then add your leeks, celery, and garlic. Stir the stuff around every minute or two, and after 5 minutes or so the leeks will start to soften and the garlic may brown a bit. At this point you can pour in the stock and potato chunks. Bring it all to a boil, reduce the heat to medium, cover the pot, and let it all cook until the potatoes are fork tender - about 20 minutes.

Remove the bundle of thyme from the pot, add in the cream and let the soup cool for at least 10 minutes. Proceed to blend it all up with your weapon of choice - I am quite fond of my crappy immersion blender. I tend to like my soup with a creamy texture so I blend the crap out of it, but if you like lumps then by all means leave some be. Season with salt and freshly ground pepper to taste.

yup...that's it...brown-boil-blitz. Then return to your heap of blankets.


....aaaaaaand for those of you who have asked, I fashioned my wang from a half-empty tube of sensodyne toothpaste.

Saturday, September 10, 2011

not-so-arduous aubergines

Okay, here comes a pretty half-assed post because summer is still hanging around and I feel like I have better things to do than sit inside and write about how little I want to use my stove in 30 degree heat.

Blogging about something bbq seems a little blasé after having eaten nothing but for the last month or so. Instead I'm going to share a recipe for something vegetable-y and cooked in a pan rather than on a grill. It is cheesy and crispy though, so...calling it a veg outright seems kind of wrong.

Sorry buds, a bbq post will happen next week... right now I feel too sweaty and belligerent.

Breaded eggplant

-2 medium eggplants
-1 cup breadcrumbs
-1/2 cup cornmeal
-1/2 cup grated parmesan
-2 tbsp dried rosemary
(or italian seasoning, herbs de provence, whatever you like)
-1 egg
-2 tbsp water
-olive oil
-salt

First peel the eggplants and slice them about 1/4" thick. I tend to choose eggplants on the smaller side for this recipe, as it makes slicing them evenly a bit easier. Grab a casserole dish or some other roomy vessel and lay down a single layer of eggplant slices. Sprinkle liberally with salt, and repeat this layering-salting process until all of your eggplant slices are used. Don't worry about oversalting: you aren't salting these to season them, but to draw water from the slices. Once the eggplants render out some water much of the salt will end up going with it. Leave the eggplant to, uh, "leak" for an hour. After this period of time you can drain the eggplant and pat the slices dry with with paper towels.
Mix the cheese, breadcrumbs, herbs, and cornmeal in a large bowl. In a separate bowl beat the egg with the 2 tbsp of water.

Start each slice by first dipping it in the egg and then patting it in the breadcrumb mixture to fully coat them. Try to keep one hand wet for dipping in egg and one hand dry for patting in breading...it'll make your life a lot easier.

Once all slices are breaded, simply put a pan over medium-high heat with one or two tablespoons of olive oil to lightly coat the bottom. Fry each batch of eggplant slices about 3 minutes per side or until each side has browned to your liking. Place each finished batch on a rack to cool, laying them on paper towel as so many people are oft to do will leave them a soggy mess.

I find them best eaten as soon as possible, and with a good tomato sauce.

Saturday, July 9, 2011

Making Jam...trying to avoid "jammin'" puns.

Despite the fact that I have always lived in an urban setting, I have a freakishly active hunting-gathering instinct alive in the backwards and questionable depths of my psyche. U-pick berry farms recently opened their fields for harvest, meaning that it was high time for me to get my elbows out and put all of those hard working migrant labourers to shame.
Although my roomie and I put in a solid effort, our gluttonous berry consumption barely put a dent in the 27lbs of fruit I brought home. I ended up processing the rest into jam, jelly, and syrup for Italian sodas. Jam production can be a pretty simple affair: fruit, sugar, and pectin will do just fine. However, I maintain that my strawberry jam is well worth the extra effort and is the best I've had to date - not too sweet, and deep in flavor thanks to the aroma of vanilla and tannins of red wine.

Sweet Baby Jesus, This is Good Strawberry Jam

-8 cups strawberries
(the riper the better!)
-2 cups red wine
(I used a merlot, but you can use whatever you want)

-1 vanilla bean
-2 cups sugar
-2 packets of no-sugar-needed pectin
(I used the Bernardin stuff)
-2 tsp ascorbic acid, aka powdered vitamin C
(or 1/4 cup lemon juice, see addendum)

Wash+lop the leafy tops from your strawberries. I like big chunks of fruit in my jam so I just quarter the berries with a paring knife. If you like it pulpy then smush them in reasonably sized batches with a potato masher.
Add the wine, sugar, and vanilla into a large pot over high heat. If you've never used a vanilla bean before, just split it lengthwise with a sharp knife and scrape the blade across the split pod to get out that black, sticky goodness. It may ressemble the tar scraped out of an old bong, but I prefer using this stuff to bottled extract any day of the week. Whisk the mixture up a little to help break apart the vanilla and boil it all over high heat for 5-7 minutes. After this period of time you can check out the viscosity; the syrup should very lightly coat the back of a spoon.

Dump in the remainder of the ingredients and bring the mixture back to a boil. Keep it at a rolling boil for 1 or 2 minutes , then switch off the heat. Your jam should still be kind of runny at this point because it is still hot. If you are doubtful of its structural integrity just spoon a few drops onto a saucer, stick it in the freezer for a minute or two, and then check to see if it has gelled to your liking. If it hasn't for some weird reason, you can always add some more pectin to the pot (just make sure you bring it back to a boil for another minute or two before declaring it finished). Make sure you give the stuff a taste; if it isn't sweet enough for you proceed to gradually add in more sugar to taste.

Fill sterilized jars (see addendum for jar sterilization), and keep in a place away from direct sunlight for the months to come. If you find that you've got more liquid than fruit, just jar the excess as jelly. Great on toast - EVEN GREATER ON BRIE CHEESE!!!

Addendum for jar sterlization and ascorbic acid

You can usually find ascorbic acid (powdered vitamin C) in most health food stores and (duh) vitamin shops. I use it as a colour preservative, but it you don`t have any handy just use lemon juice or leave it out altogther. If you choose the latter, your jam will taste fine but might turn a sort of brownish colour after a few weeks.

Prior to filling, put your jars and lids in a big pot of water (enough to completely cover them) and boil the shit out of them for 10-15 minutes. Keep them warm right up until you fill them! Once you fill a jar, stick on the lid and let it sit for ...uh....some arbitrary number of hours. If the lid of the jar sucks into a slightly concave profile once it has cooled you`re all done! If for some reason they don`t vacuum seal, just boil the filled and sealed jars in water once again (with enough water to cover them as in the photo) for a few minutes and allow them to cool - they should seal the second time around.

I`m going to level with you though, I got lazy this year. I just ran the damn things through my dishwasher with some leftover sani-brew I had from cider making, and all seems to have gone just fine.

Monday, June 13, 2011

no tv and no beer make Ali something something...

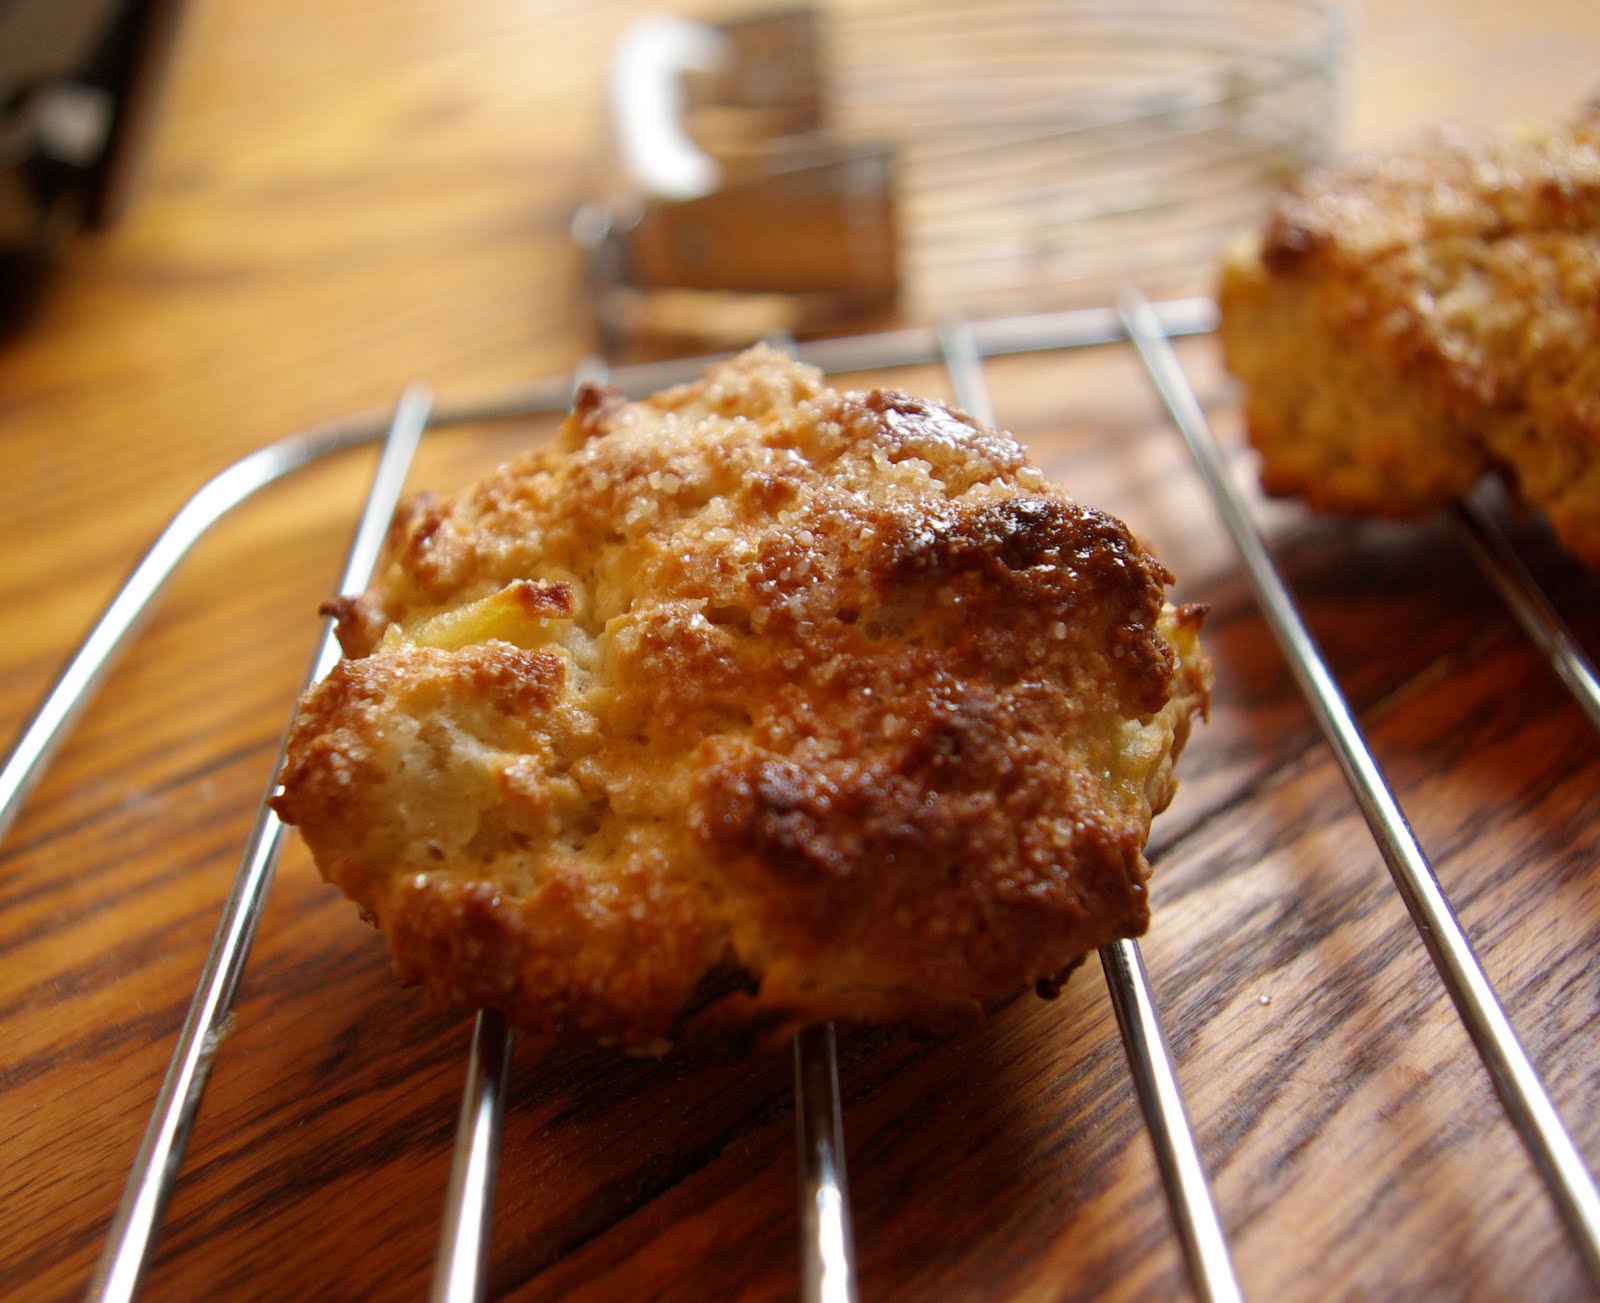
Guuuuuuhhhhh somebody please do the kind-hearted thing and put me out of my misery with a vacation-gun. Between school, work, and saving for things like 8 weeks of fall unemployment I am currently in a severe time/finance/sanity crunch this summer. Lately I've been feeling like these seemingly manageable things are eating up my life with the voracity of a dog sicced upon a tub of spreadable cheese. Consequently, I realize that I need to cut down on the time I spend in the kitchen lest I crack and resort to slowly burning my belongings in the middle of the street.

I've taken to cooking large quantities of things that I don't mind living on for a few days in order to simplify my daily grind. One of those things is the following recipe for oven-roasted pulled pork. The end product is great for a number of reasons, the first being that you end up with a ridiculous quantity of delicious, tender meat. I've used it for widely ranged applications such as omelettes, hash, wraps, sandwiches, and salad topping. Basically, a one-pan solution for all of your lazy summer food needs. And while I'd love to try it on the bbq sometime, we've already got a clandestine setup on account of our property manager's strict anti-bbq policy. Though tempting, 8 hours of fragrant smoke billowing from our patio miiiight just tip them off to this (among other) slight transgressions of their tenant policy.

Citrus and garlic pulled pork

-2 kg pork shoulder, bone in
-1 lemon
-2 oranges
-2 yellow onions

wet rub:
-2 tbsp corriander seed
-1 1/2 tbsp caraway seed
-1/2 tsp white pepper
-2 tsp salt
-2 tbsp brown sugar
-10 cloves of garlic
-1-2 tbsp olive oil

sauce:
-4 tbsp grainy mustard
-1 1/2 cups fresh squeezed orange juice (about 4 big oranges)
-juice of 1 lemon

Place a dry pan over high heat and toast the caraway and corriander seeds together. You'll know they're done when they get really fragrant. Break them apart to your liking, but do leave a considerable amount of texture if possible - it makes for a really nice crust on the pork once it's done cooking. Finely mince the garlic cloves and combine them with all of the other ingredients listed for the wet rub.

Score the skin of the pork so that the fat is exposed and proceed to rub it down with the tasty-paste. I liken this process to that of malevolently shoving sand into the swimsuit of your enemy: you want those little particulates to get into every goddamn nook and cranny you can manage. The higher the rate of spice intrusion, the better.
Slice your onions (peeled) and citrus fruit (unpeeled) about 1/4 inch thick and place them at the bottom of your roasting pan or dutch oven for the meat to rest on. Cover it up with a tight fitting lid and let the whole thing sit in the fridge overnight. The next day, heat up your oven to 250˚ and stick your pork into the hotbox. We are cooking this thang lowww and slowww.

Ideally you should roast it skin side up in order to crisp up the crackling and keep the meat moist. However, this particular shoulder roast was kind of lopsided so I settled for roasting it on its side and covering it with some of the orange and lemon slices. If you are fortunate enough to not have this problem you can just keep the citrus under the roast and not bother with the extra layer atop the pork.

Keep the whole thing covered for the first 5 hours of roasting; just let it sit and sweat in the oven. After this time you can uncover the roasting pan/pot/whatever and check up on your meat. If it's more or less done it should...for lack of a less gross term..."quiver" when you poke at it.

Sweep the citrus slices from the top of the meat (if you had to put them there like I did) and ladle out as much of the pan drippings as you can. Set this liquid gold aside for a little later. Turn your oven up to about 300˚ and stick the roast back in there uncovered to brown - it should take about another 45 minutes (do check on it periodically). You should end up with a lump of awesome which vaguely resembles the picture below.

Really, we could stop right here and be pretty goddamned content, however the following sauce is definitely worth the extra 10 minutes of your time. Spoon off most of the fat from your previously collected pan drippings. Pour the drippings into a small pot (or right back into the pan). Place it upon your stove top over medium-high heat and add in the remaining sauce ingredients. Stir, reduce for 10 minutes, and it's ready for eatin' time. The taste of this stuff really depends on the quantity of drippings yielded by the pork. If the sauce happens to be too acidic, add a little more brown sugar. If the sauce isn't acidic enough, add some more citrus juice. If you simply want more of it, dump in some extra juice and stock (chicken stock works ok). Salt, spices, whatever - you get the idea.

Once your pork has cooled a little, shred it up with a couple of forks or fingers. Dole out a liberal amount of sauce, and hastily pack into an eagerly gaping maw.
(this picture looks sooo much better if you click+enlarge it....)

Tuesday, May 3, 2011

The Summer of Frugal and Farty

All my life I've been kinda poor. I don't mean to trivialize the plight of those who can't afford to eat or go to school, so I should clarify: I am that "anything-over-$40-is-a-major-purchase" kind of poor. Yes, I splurge on some nice ingredients from time to time, but the majority of my meals are cooked on the cheap in order to fortify my beer and cat kibbles budget. This summer marks the very first which will be spent taking courses, meaning that I've got to become extra cheap as a consequence of soon being extra poor.

I first started cooking this particular frugal concoction when Terra Breads switched their daily soup schedule around, changing my once cherished tuscan bean soup Tuesdays to Wednesdays. You should all know that I deal rather poorly with trivial, unexpected change. Altering my own schedule of cafe patronage is just needlessly not-doable thanks to my stupid compulsions, so I started making my own white bean soup in an effort to cope with lunchtime uncertainty.

Creamy White Bean Soup

-6 large cloves of garlic
-4 shallots
-4 cups chicken stock
-1 greedy handful of basil
-8-12 leaves of fresh sage
-4 cups of cooked cannelini beans
(approx. 2 cans or 1 1/2 cups dry:
see addendum below post
)
-2 tbsp olive oil
-1/3 cup heavy cream
-salt+pepper

Start by peeling and roughly chopping the shallots and garlic. Truth be told, I don't even bother chopping up the garlic, and usually resort to just smashing the cloves open with the side of a large knife. Place a sizeable pot over medium-high heat and cook your shallots, garlic, and sage leaves (you can just leave them whole) in the olive oil for a couple of minutes. You don't really want to heavily carmelize anything, just soften the stuff until your shallots turn translucent. Add in your beans and chicken stock, cover the pot and simmer over medium heat for about 20 minutes or until the garlic cloves are smushable. I would strongly recommend either reducing 5 cups of stock into 4 to concentrate the flavor or fortifying your stock with some kind of natural stock base product prior to use in this recipe. I only say this because the beans will soak up a lot of the flavor once pureed.
Turn off the heat, roughly chop your basil and toss it into the mix. Assemble your weapon of choice (I like using an immersion blender to minimize mess) and proceed to buzz the crap out of your proto-soup until it is creamy and flecked with little green herb bits. Pour in the cream and season with salt+pepper to taste. I like my soup on the thicker side, but you can always dilute the stuff with more stock if you'd rather it be thinner.

This dish is best served while sitting curbside, lamenting the tribulations of student life whist warming your hands atop a garbage can fire. In between your swigs of listerine be sure to nurse your salvaged cigarette, stroke the pet rat in your jacket pocket, and mumble "life....she is shit...."
If you aren't quite as melodramatic as I am, you could try it with a little extra fresh basil, a crisped pancetta slice, and olive oil drizzled atop your tasty batch of cheapness.

Addendum:
You can always use canned beans for convenience, but it's waaaayyyy cheaper to just cook your own. Start by soaking about 1 1/2 cups of dry cannelini beans (white kidney beans...whatever you want to call them) overnight in ample cold water. Drain them the next day, and then boil in plenty of fresh water for about an hour or until they are soft. DO NOT BOIL THEM WITH SALT!!!!! This will keep them from getting completely tender, resulting in weird grainy legumes. Don't ask why because I don't know, just trust me on this one, okay? Once they're tender you can drain them of excess water and they're ready to use in the soup or whatever else you have planned.

Sunday, March 13, 2011

Brussel sprouts: haters gonna hate.

Remember that lush, verdant green I had growing out back but just a few posts ago? Yeah. not so much anymore. My once resplendent urban garden has since melted into a series of cellulose-and-jelly filled planter boxes. The one thing which has indeed managed to evade winter gooification: my brussel sprouts. Despite their insprational perseverance, I haven't been great about their upkeep since things got cold and wet outside. Consequently, there aren't too many sprouts big enough to eat - plus my cat has spent the better portion of winter shitting all over them.

My childhood encounters with brussel sprouts recall an epic battle between my gag reflex and unwavering parental insistence at the holiday table. I've actually grown to quite like them since then. This recipe is ridiculously easy and renders those little brassicaceaeous brains soft, salty, and just a little bit bitter - as good brains ought to be, I suppose.


"BRAIIIINS!" - plants vs zombies continues to dominate my daily pop culture references.

Eat-by-themselves brussel sprouts

-20 or so brussel sprouts (about 1 lb)
-1 tbsp olive oil
-2-3 tbsp butter (or duck fat or bacon fat - YURM!)
-1/2 cup grated parmigiano reggiano
-1 1/2 cups chicken stock
-salt+pepper to taste

First things first, crank up your burner to a high heat, and wash+cut your sprouts in half (lengthwise so they stay together). Put a large pan on the heat and drop in the oil and fat of your choice. Once the butter (or whatever else you're using) has melted into the oil, place the sprouts in, cut side down. Leave them alone for about 5 minutes, or until they get nice and charred. Give the pan a couple of stirs to turn most of them over and continue browning for another 3-5 minutes.

Pour in the chicken stock and cover the whole thing for another 8-10 minutes. After this time, uncover and reduce away any residual liquid (I've always found that it's pretty much gone by this point anyways).

Once you've done away with the stock, turn off your stove, sprinkle in your cheese, and grind in some black pepper to your taste (thanks to the cheese and stock I've never needed salt on these and I am a total sodium junkie). Stir to coat and melt the cheese a little, then plate with a little more cheese sprinkled on top. ...Or a lot more, whatever. I suppose this would be a nice side dish, but I am completely serious when I say that I will readily dive into a batch of this all by its lonesome. And yeah, I know, "put butter and cheese on a shoe and it'll taste good", right? It may not be original, but fuck that because it's delicious.

Thursday, February 10, 2011

Heavenly Eats at Ungodly Hours

Howdy peeps: about a month ago I decided to pursue sadomasochism in its purist form by joining a kettlebell class. Woe be unto our instructor, Josh, whom I mistakenly refered to as "Justin" for a full 2 weeks. He seems like a legitimately nice person, and all I can seem to do is reward him with a litany of complaints and smutty jokes. Far be it from me to feel remorse about very much, but a tiny bit of guilt pinched me whenever I remembered that I was verbally stomping upon the delicate flower that is he. If time tells us anything, it's that change on my part is pretty effin' unlikely. Alternately, I served my penance by bringing breakfast goodies to class.

Buttermilk scones with apples and cardamom

1 1/2 cups unbleached all purpose flour
1/4 cup butter
3/4 cup buttermilk
1/3 cup turbinado (raw) sugar + extra for dusting
1 tsp cardamom
1 tsp vanilla extract
1 tsp baking powder
1/4 tsp baking soda
decent pinch of salt

APPLE STUFF:
1 1/2 cups of apple (I think I used gala)
1/2 tbsp butter
1 tbsp raw sugar
1/4 tsp cardamom
1/2 tsp allspice

Preheat your oven to 400 f with and make sure that the rack is set in the middle of it. Peel and dice your apple (I like 1/4 inch dice) and combine with the spices (from the APPLE STUFF subsection of ingredients). Put a pan over medium-high heat with the butter and sugar in it and wait a couple of minutes for it to begin caramelizing. Throw your apple mix into the pan and stir to coat while cooking. After a couple of minutes the fruit should begin to soften. At this point, take it off of the heat and set aside - we don't want apple mush, so don't cook it for more than 5 minutes.

Mix all of your dry scone ingredients together (everything except for the buttermilk and butter) - I suppose you should sift it, but who has time for that crap before a 6:45 am class? Cut in the butter with a pastry blender or sturdy fork until the mixture gets a mealy kind of texture. Mix in the buttermilk, vanilla, and apple. Proceed to smush the stuff around with your hands until things are all well incorporated.

Cover a large baking sheet with parchment paper and roughly roll out 10 somewhat even balls of dough; arrange them at least an inch apart as they do expand while baking. Dust each scone generously with more turbinado sugar and bake for 15 minutes. Follow this 15 minute period by turning on your broiler for an additional 3-5 minutes in order to carmelize the sugar topping - it keeps their crusts nice and crunchy throughout the day. I have a real problem with the soft, tasteless scones I tend to find in coffee shops so rest assured that these crunchy-on-the-outside-tender-on-the-inside eats are no kin of those bland failures. I also realise that one might think that eating baked goods right after training is completely retarded, HOWEVER, these scones aren't too bad of a choice as they contain less than 150 calories each.

...SEE, JOSH?! SEE!? I am, in fact, able to go a full 512 words sans innuendo DESPITE mention of rolling balls and succulent fruit.

Friday, January 28, 2011

Mange-o Italiano

This is Joe:
He comes replete with thick moustache, strong accent, and a plethora of prostitute jokes. Joe is the resident Italian stereotype at my community center and I can't think of anybody who doesn't love having him around. His description of our relationship? "A-marry on a-Saturday, a-honeymoon on a-Sunday. A-Monday? Deevorce."

He's always bringing us goodies like apricot cake, home-brew wine, and biscotti so I figured that he was good in the kitchen. Last week I asked Joe if he could show me how to make gnocchi because I've always found the store-bought stuff to be pretty vile. Although this nonno cooks the dumplings in tomato sauce for his grandkiddies, I'm serving mine with pesto braised chicken. That's right, I'm whipping up a two-fer in order to try and compensate for my apparent inability to post with any degree of regularity.


Gnocchi

-10 medium-sized yukon gold potatoes
(he specified yukon gold, anybody know if the type of potato actually matters?)
-3 cups of flour + more as needed
-water as needed

Note: this will make a ridiculous amount of gnocchi.

Peel and steam the potatoes, once they're fork tender immediately mash them finely with a ricer. Combine the flour and potato and knead into a homogenous mass. If you need a little water or flour to improve the texture go ahead and kind of tinker with adding stuff slowly until the dough feels "right". The texture was akin to fresh out of the can playdough: holds its shape, but still quite soft and only moderately sticky. Joe says that the faster you work with this stuff the better, because the longer you wait the softer the dough gets (making it increasingly difficult to roll).
Lightly flour your work surface, twist off some lumps of dough and roll said lumps into snakes. Maria (Joe's wife) couldn't stop pointing out the fact that my hands were smushing the dough too much as opposed to lightly rolling it out so...y'know...don't do that shit.

Once you've got your snakes all rolled out cut them up about 2 cm wide and toss in flour. The portion of this process that I was exceptionally terrible at was rolling the little pillows into slender curls. Maria explained that you use two fingers to softly press into a gnocco while rolling it towards you. I then proceeded to unceremoniously smush mine into the floured board. Er, I was then instructed to return to snake-making duty. Sigh. You might think this an uncessessary process, but the little nook you create helps hold more sauce once they're cooked.
Boil a large pot of salted water and cook these guys for 3-5 minutes, or until they float up to the top of the water. These are smaller gnocchi, suitable for a rich sauce like the one I will show you how to make next (buuut you can make them larger if you like).


Pesto chicken

-6-8 chicken thighs
(skinless, bone-in)
-1/2 cup basil pesto
-3 cups chicken stock
-1 1/2 cups dry white
wine
-a few sprigs of thyme
-5 cloves of garlic,
minced
-1 shallot, minced
-1/2 cup of half and
half cream
salt&pepper to taste


Start by patting your chicken dry with some paper towels and then season with salt and pepper. Put a large pan over high heat and warm up a tablespoon or so of olive oil. Sear the chicken in batches until the outsides are browned, and set the meat aside. I suppose you could use drumsticks as well if you had them on hand. I prefer thighs because their flattened tops tend to brown more nicely. Avoid chicken breasts at all costs; trust me, they develop an off-putting stringiness when cooked this way.
Fry the garlic and shallot in the oil until fragrant and then deglaze the pan with the wine and chicken stock. Add in the thyme sprigs (I just put them in whole and pluck them out afterwards) and let simmer uncovered over medium-high heat for 15 minutes or so to reduce a bit. If the sauce is a little too watery for your liking then by all means reduce it down a litte more and season with salt to taste if need be. Take out the thyme, add in the pesto and dairy, stir it up and then place the chicken back into the sauce. Cook it all covered for 10 minutes then set aside to cool. I suppose that you could eat this stuff right away but trust me when I say it tastes much better a few hours later.

Serve by doling out a puddle of sauce atop the gnocchi and your favorite kind of veg. I know the gnocchi kind of look like little green slugs in this photo so I drizzled some tomato olive oil along my plate in order to gross you out a little less. Regardless: LOOK BAD - TASTE GOOOOOD!